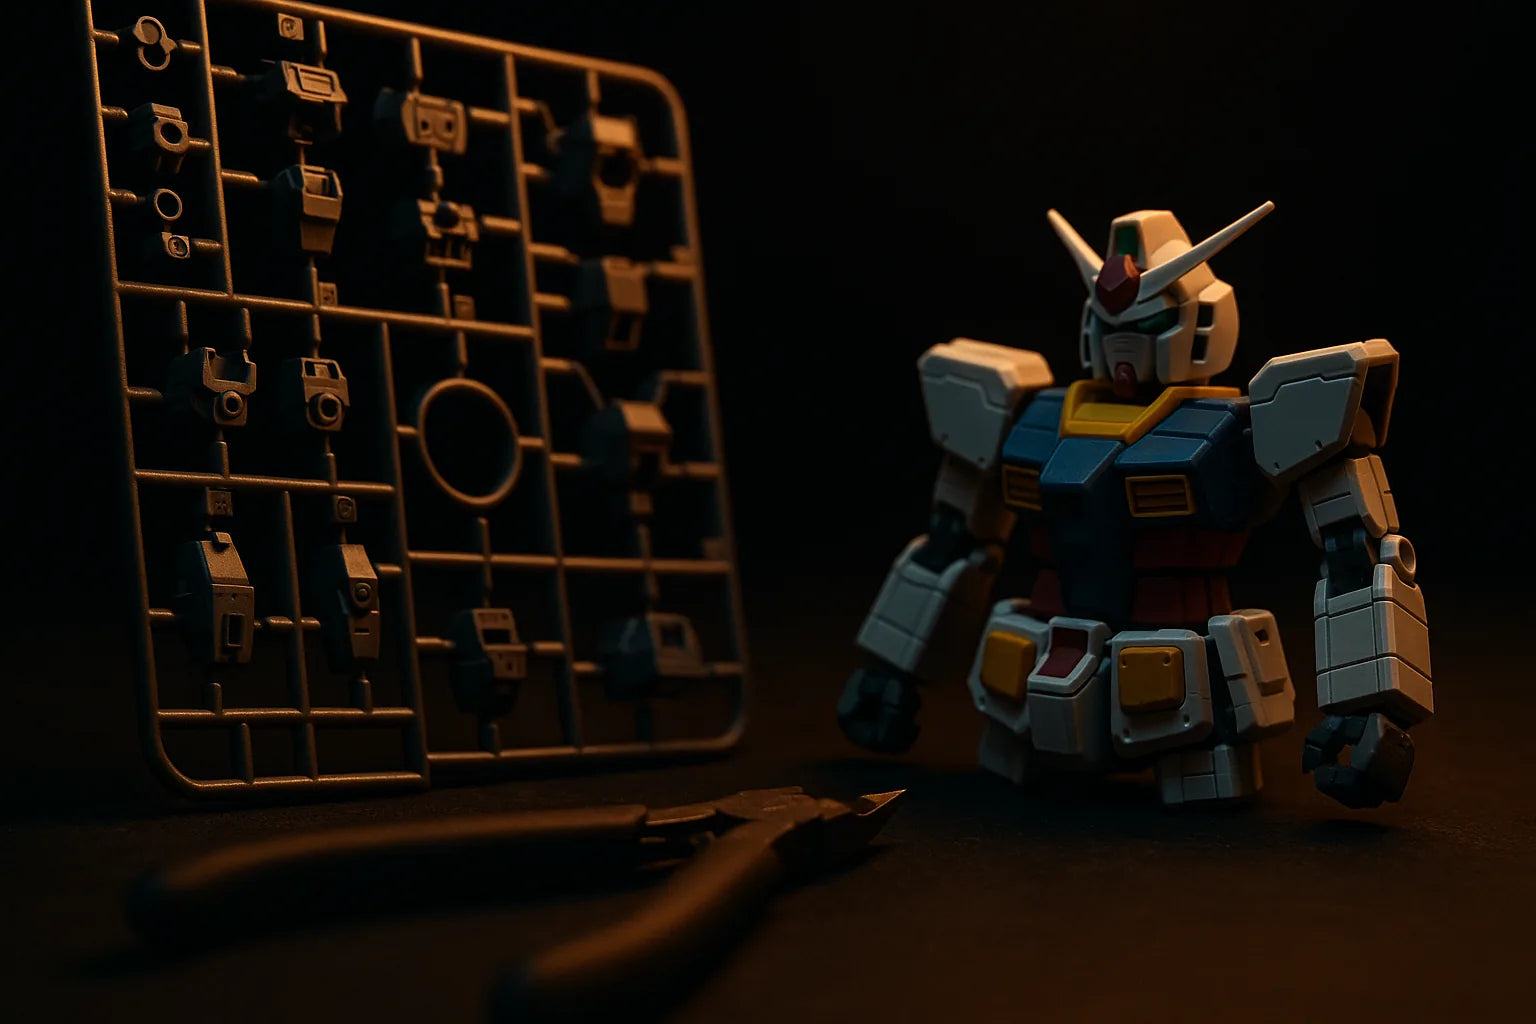
How to Build Your First Gunpla
Building your first Gundam model kit is one of the most rewarding hobbies you can pick up. Gunpla (short for Gundam plastic model) is designed to be assembled without glue or paint, which makes it perfect for complete beginners. If you have ever wondered how to build a Gundam model and end up with a poseable, display worthy figure, this step by step guide walks you through the entire process from opening the box to placing your finished kit on the shelf.
The best part is that you do not need years of experience or an expensive workshop. With a handful of the right tools and a little patience, you can build a clean, sharp looking kit in an afternoon. Let us start with what you actually need before the first piece leaves the runner.
What You Need Before You Start
Before diving in, gather a small kit of essentials. You can build a Gunpla with almost nothing, but a few dedicated tools make a huge difference in how professional the final result looks. Here is the short list of hobby tools worth having on your bench.
- Model nippers (side cutters): A sharp, single blade nipper made for plastic model kits. This is the single most important tool you will own.
- Hobby knife: For trimming leftover plastic and cleaning up cut points.
- Sanding sticks or files: Fine grit sanders to smooth rough edges.
- Tweezers: For applying stickers and handling small parts.
- A cutting mat: Protects your table and gives you a clean work surface.
If you want a complete starter setup in one go, browse our full selection of hobby tools built specifically for model kit building. Not sure which items are worth it as a beginner? We put together a breakdown of the best hobby tools so you can spend smart and skip the stuff you do not need yet.
Choosing the Right First Kit
For your very first build, the High Grade (HG) line is the sweet spot. HG kits are 1/144 scale, affordable, and have a manageable part count that will not overwhelm you, while still delivering great articulation and detail. You can explore beginner friendly options in our High Grade kits collection. If you want help narrowing it down, our guide to the best Gundam model kits highlights the top picks for newcomers.
Step 1: Set Up Your Workspace and Read the Manual
Clear a flat, well lit area and lay down your cutting mat. Open the box and you will find several plastic frames called runners (also known as sprues), each holding the individual parts. Every kit comes with an illustrated manual, and even though the instructions are often in Japanese, they are almost entirely visual and easy to follow.
Take a few minutes to flip through the manual before you cut anything. Each part is labeled with a letter and a number (for example, A1 or C12) that matches the runner it belongs to. Getting familiar with this numbering system now will save you a lot of searching later.
Step 2: Cut Parts From the Runners
This is where the real building begins. Never twist or pull parts off the runner with your fingers, because it leaves ugly white stress marks and can damage the piece. Instead, use your model nippers to cut cleanly.
The professional technique is a two step cut. First, cut the part away from the runner but leave a small tab of plastic still attached to the piece. This little leftover tab is called a nub. Second, make a clean second cut close to the part surface to remove the remaining nub. Cutting in two passes keeps the stress away from the part itself and prevents those white marks.
- Position the flat side of the nipper against the part for the cleanest cut.
- Cut a little at a time rather than forcing the blade through.
- Work through the parts in the order the manual lists them.
Step 3: Clean Up the Nub Marks
After cutting, most parts will have a small raised spot where the nub used to be. These are called nub marks, and cleaning them up is what separates a rushed build from a crisp one. Use a hobby knife to gently shave the nub flush with the surface, slicing thin layers rather than gouging.
For an even smoother finish, follow up with fine grit sanding sticks. Sand lightly in one direction until the spot is level and blends into the surrounding plastic. Take your time here. Clean nub marks are the detail that makes people ask if your kit was professionally finished.
A quick tip: work from coarse to fine grit if the nub is large. Start around 400 grit to knock it down, then move to 600 and 800 to polish the surface smooth. On glossy colored parts, a leftover sanding haze can show, so a light pass with the finest grit or a soft cloth restores the shine. If you plan to apply a top coat later, small imperfections become much less visible, so do not obsess over perfection on your very first build.
Step 4: Snap Fit the Parts Together
Gunpla uses a snap fit design, which means parts click together with pegs and holes. No glue required. Follow the manual step by step and press the parts firmly until you feel and hear them lock into place.
A few tips for clean snap fitting:
- Line up the peg with the hole before pushing, and press straight in.
- Build in the order shown so you never trap a part you needed to insert first.
- If a part is stubborn, apply even pressure with your thumbs rather than forcing one corner.
- Apply any foil stickers or decals with tweezers as you go, following the manual placement.
Work section by section, usually starting with the head, then the torso, arms, legs, and finally attaching everything to the body. Before you know it, you will have a fully assembled Gundam standing on your mat.
Step 5: Panel Lining for Extra Detail
Your kit already looks great, but panel lining takes it to the next level. Panel lining is the process of running ink into the recessed lines and grooves molded into the armor. It adds depth and shadow, making all that surface detail pop.
The easiest way to do this is with a Gundam marker made for panel lining. Simply run the fine tip along a panel line and let capillary action pull the ink into the groove. Wipe away any excess with a cotton swab or your finger. The ink stays in the recess and instantly makes the model look more three dimensional.
Browse our range of Gundam markers to find panel lining pens in black, gray, and brown. Gray works beautifully on white armor, while black gives bold contrast on darker parts. This single step delivers the biggest visual upgrade for the least effort, so it is highly recommended even on your first build.
Step 6: Apply a Top Coat
Straight from the box, Gunpla plastic has a shiny, slightly toy like finish. A top coat is a clear spray that unifies the surface and gives your kit a more realistic look. It also seals in your panel lining and stickers so they do not rub off with handling.
Top coats come in a few finishes:
- Matte (flat): The most popular choice. It removes the plastic shine for a scale realistic look.
- Gloss: Adds a wet, high shine finish, great for certain color schemes.
- Semi gloss: A middle ground between the two.
Spray in light, even passes from about 20 to 30 centimeters away in a well ventilated space, and let each coat dry before adding another. Matte top coat in particular transforms a kit and hides minor imperfections. It is an optional step, but one that makes a noticeable difference.
Step 7: Pose and Display Your Kit
Congratulations, your first Gunpla is complete. Now comes the fun part: posing it. HG kits have excellent articulation, so experiment with dynamic action poses, weapon loadouts, and stances. Many kits include hand parts and accessories to help you nail the perfect pose.
For display, keep your finished model out of direct sunlight to prevent the plastic and stickers from fading over time. An action base or stand lets you show off flying and mid action poses. Give it a light dusting now and then with a soft brush, and your kit will look sharp for years.
Ready to Start Your Next Build
That is the complete process of how to build a Gundam model, from cutting the first part off the runner to displaying a clean, panel lined, top coated kit. The skills you just learned carry over to every future build, and each kit you complete will come out sharper than the last.
Once you are hooked (and you will be), the next step is expanding your collection and your toolkit. Explore more High Grade kits to find your next project, stock up on the right hobby tools to build faster and cleaner, and add a few Gundam markers to make every kit look its best. Happy building.