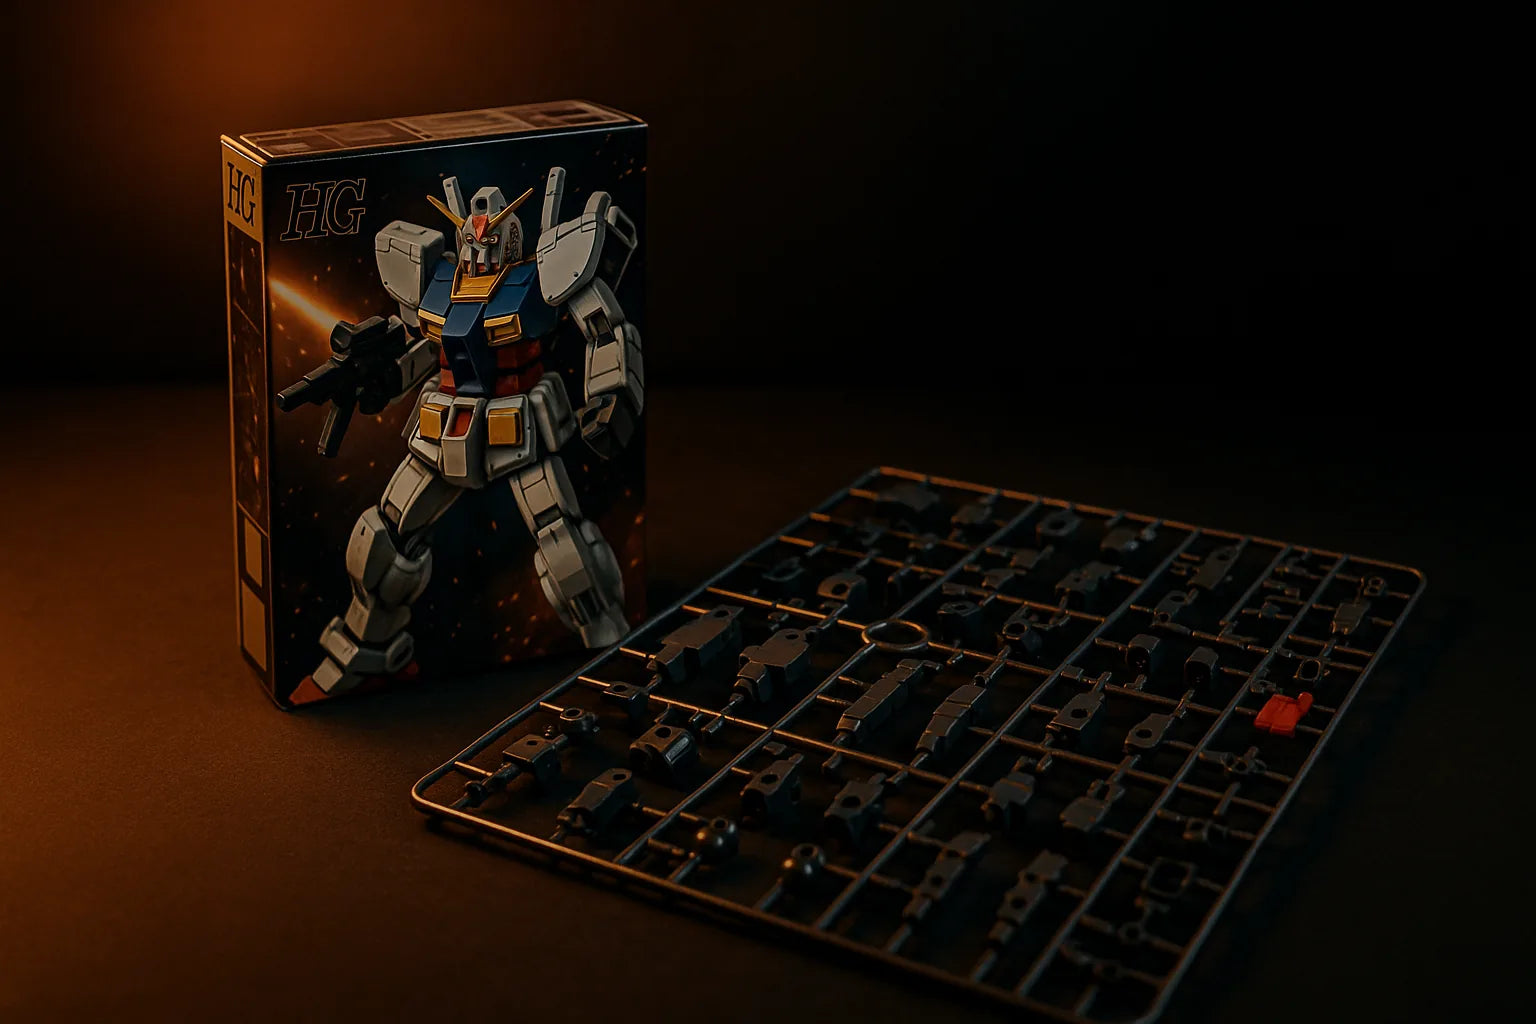
So you have decided to build your first Gundam model kit. Great choice. Gunpla (a blend of "Gundam" and "plastic model") is one of the most rewarding hobbies you can pick up: it is affordable, relaxing, and you end up with a display-worthy robot you assembled with your own hands. But if you have ever searched for a starting point, you already know the problem. There are dozens of grades, hundreds of kits, and a mountain of jargon that makes the whole thing feel harder than it is.
This guide cuts through all of that. We will cover exactly which grade to start with, the best Gundam for beginners, the handful of tools you actually need, and the mistakes almost every newcomer makes on their first build. By the end you will know precisely what to buy and how to get building today.
What Is Gunpla, and Why Start Now?
Gunpla are snap-fit plastic model kits based on the Mobile Suit Gundam anime franchise. Unlike old-school scale models, modern Gunpla require no glue and no paint to look fantastic straight out of the box. The parts are molded in color, they click together, and the engineering is genuinely impressive. That is what makes them the perfect entry point into model building: you get a satisfying, movable robot without needing a workshop full of supplies.
The hobby also scales with you. Your first kit can be a relaxing afternoon project. Six months later you might be panel-lining, applying decals, and airbrushing custom color schemes. You grow into it at your own pace, and nothing you learn is ever wasted.
Understanding Gundam Grades (Start Here)
The single most important thing a beginner needs to understand is the grade system. A "grade" describes the size, detail, part count, and complexity of a kit. Picking the right grade is the difference between a fun first build and a frustrating one. Here are the ones you will run into most often.
High Grade (HG), 1/144 scale
High Grade is the recommended starting point for almost everyone, and it is what we suggest for your very first build. HG kits are small (roughly 5 to 6 inches tall), affordable, and have a manageable part count, usually well under 200 pieces. They snap together cleanly, the instructions are clear and pictorial, and a build takes just two to four hours. You get a great-looking, poseable robot without a huge time or money commitment. Browse a full range of beginner-friendly High Grade kits to see what appeals to you.
Real Grade (RG), 1/144 scale
Real Grade kits are the same height as HG but pack in far more detail and a much higher part count on a pre-assembled inner frame. The parts are tiny and the tolerances are tight. RG kits are stunning, but they can frustrate a complete newcomer. Save these for your second or third build once your fingers are used to the process.
Master Grade (MG), 1/100 scale
Master Grade kits are larger (around 7 to 8 inches), feature a full internal skeleton, and offer excellent articulation and detail. They are a joy to build, but with several hundred parts and longer build times, they are a bigger commitment. A confident beginner can absolutely tackle one, but most people are happier starting smaller.
Perfect Grade (PG), 1/60 scale
Perfect Grade kits are the flagship: huge, intricate, sometimes with LED lighting, and often 600-plus parts. These are advanced builder territory. Admire them now, build one later.
The verdict: start with High Grade. It gives you the full Gunpla experience, teaches you every core skill, and costs little enough that mistakes do not sting.
The Best Gundam for Beginners
Once you have settled on the HG grade, the next question is which specific kit to buy. Not all High Grade kits are equally beginner-friendly, since some older molds are dated and fiddly. Here is what to look for and a few reliable directions.
- The Revive line: Bandai re-engineered several classic designs (like the RX-78-2, the original Gundam) with modern articulation and cleaner assembly. These "Revive" kits are excellent first builds and represent the iconic look most people picture when they hear "Gundam."
- HGCE Strike series: Kits from the Gundam SEED universe, such as the Aile Strike, are well-designed, sturdy, and packed with satisfying detail for the price.
- HGUC staples: Popular grunt suits like the Zaku II are affordable, forgiving, and look great with minimal effort.
Our advice: pick a design you genuinely think looks cool. Motivation matters more than picking the "objectively best" kit. If you love how it looks on the box, you will enjoy building it. For curated picks, see our roundup of the best HG kits, and if you want to compare across grades, check the guide to the best Gundam model kits.
The Basic Tools You Actually Need
One of the best things about Gunpla is that you can start with almost nothing. That said, a few inexpensive tools make a massive difference to your results and enjoyment. You do not need everything at once, but this short list will cover your first several builds. You can find all of these in one place in our hobby tools collection.
Side cutters (nippers)
This is the one tool you should not skip. Side cutters, or nippers, are small flush-cutting pliers designed to snip parts cleanly off the plastic runners (the frames the parts come attached to). A dedicated hobby nipper produces a far cleaner cut than household scissors or wire cutters, which leaves you with less cleanup and better-looking parts. If you buy only one thing beyond the kit itself, buy a good pair of nippers.
A hobby knife and sanding sticks
After cutting a part free, a tiny stub of plastic called a "nub" remains. A sharp hobby knife lets you carefully shave nubs flush, and a fine sanding stick or sponge smooths the spot afterward. This single step separates a rough build from a clean one.
A cutting mat and tweezers
A self-healing cutting mat protects your table and gives you a grippy work surface. Tweezers help you place the small stickers and decals that come with most kits without smudging or losing them.
Gundam markers for detailing
Once your kit is assembled, panel lining brings it to life by darkening the recessed lines so the details pop. Purpose-made Gundam markers make this beginner-friendly: you simply run the marker into a panel line and wipe away the excess. It takes a build from "nice" to "wow" in about twenty minutes, and it is the easiest upgrade a beginner can learn.
How to Build Your First Kit, Step by Step
Here is the simple workflow that will carry you through nearly any HG build.
- Set up your space. Good lighting, a clear table, and your cutting mat down. Keep the box lid nearby to hold loose parts.
- Follow the manual in order. Gunpla manuals are numbered and almost entirely visual. Build one step at a time and do not jump ahead.
- Cut twice. Snip each part a little away from the runner first, then make a second, closer cut on the leftover nub. This avoids stress marks (the white stress you see when plastic is cut too close under pressure).
- Clean the nubs. Shave and lightly sand each nub before assembling that section.
- Test the fit before you commit. Some parts are directional. Dry-fit and check against the manual image before pressing them fully home.
- Panel line and sticker last. Apply detailing and stickers once the section is together.
Work in one or two sittings rather than rushing. Part of the appeal is the calm, focused flow of the process.
Common Beginner Mistakes to Avoid
Every builder makes these at least once. Knowing them ahead of time will save your first kit from avoidable damage.
- Cutting parts flush on the first pass. This is the number one rookie error. Cutting hard against the part creates white stress marks that are hard to fix. Always leave a small nub and trim it in a second step.
- Using the wrong tool. Scissors and craft knives tear plastic and cause injuries. A proper hobby nipper is cheap and worth every cent.
- Forcing tight parts. If a piece will not seat, stop and check orientation. Forcing it can snap a peg or crack the plastic.
- Skipping nub cleanup. It feels optional, but leftover nubs are the most visible sign of a rushed build. A minute of sanding per part pays off.
- Peeling the whole sticker sheet at once. Cut and apply stickers as you reach each step so you do not mix them up or lose the small ones.
- Starting too big. Jumping straight to a Master Grade or a high-part-count Real Grade can burn you out. Build one HG first and enjoy the quick win.
Where to Go From Here
Once you have a completed HG on your shelf, the hobby opens up. You can move on to Real Grade for finer detail, experiment with topcoats to change the finish, try simple modifications, or eventually work up to Master and Perfect Grade builds. Each new kit teaches you something, and the skills carry across every grade.
But it all starts with that first snap. Pick an HG kit you love the look of, grab a decent pair of nippers, and give yourself an afternoon. That is genuinely all you need to join one of the most satisfying hobbies out there.
Beginner Gundam FAQ
Do I need glue or paint to build Gundam?
No. Modern Gunpla are snap-fit and molded in color, so they look great with zero glue and zero paint. Panel lining and stickers are optional finishing touches, not requirements.
Which grade should a total beginner buy?
High Grade (HG), 1/144 scale. It is affordable, has a beginner-friendly part count, and teaches every core skill in a build you can finish in an afternoon.
How much does a first kit cost?
A High Grade kit and a basic pair of nippers together are an inexpensive starting point, which is a big part of why the hobby is so accessible.
How long does a first build take?
Most HG kits take two to four hours for a first-timer, and you can easily split that across two relaxed sessions.
Ready to begin? Explore our High Grade kits, pick up the essential hobby tools, and grab a set of Gundam markers to finish your first build in style.
What to Buy Before Your First Build
You do not need much to get started, but a few items will make your first build dramatically smoother. At minimum, grab a pair of sharp side cutters (nippers) designed for plastic model kits. Craft scissors or nail clippers will leave ugly stress marks on the plastic. A hobby knife and a set of sanding sticks round out the essentials for cleaning nub marks. For a full breakdown of starter tools, see our best Gunpla tools guide.
Beyond tools, a panel lining marker is the single highest impact accessory you can add. Running a fine gray or brown line into every recessed groove takes ten minutes and makes the kit look dramatically better. It is the closest thing to a free upgrade in the hobby, and it works on every grade from HG to PG.
How Much Should You Spend on Your First Kit?
A good beginner HG kit costs between $10 and $20. Do not spend more than $25 on your first build. The point is to learn the process: how to read instructions, cut parts cleanly, sand nubs, and enjoy the assembly. Investing $60 in a Master Grade before you can handle a nipper confidently is wasting money and patience. Once your first HG is built and you want more, that is the time to step up to Real Grade or Master Grade. Start cheap, build skills, then scale up.